What on earth did we do before Pinterest was invented? I could happily spend hours trawling through all the gorgeous ideas for children’s activities, arts and crafts, and organisational ideas. Anyway, one day, this post by The Artful Parent popped up and looked like just our sort of thing!
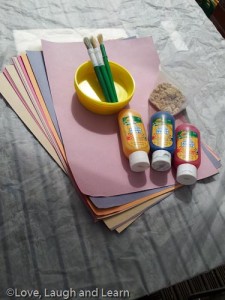
The Artful Parent’s post was actually a product review of some sensory sand finger paint ready-made in bottles, but we have bottles of finger paint and a bag of sand in the cupboard so of course we made our own! I did search online for the bottles of sensory finger paint featured in the original post, but they don’t appear to be available in this country. All we needed was:
Finger paint,
Play sand,
Paper,
Dishes.
I set this up outside as it was a nice day, with one of our trusty shower curtains taped to the table.
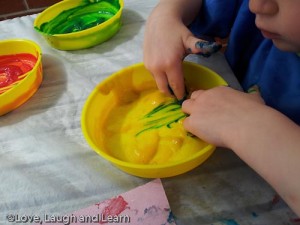
We mixed a big blob of paint with a little sand in each dish and got stuck in. Annabelle loves getting the paint on her hands, so this was a really interesting sensory experience. The paint still spread smoothly onto the paper, with the end result looking slightly glittery. It feels a little gritty between your fingers – but in a nice way that is fun to explore!
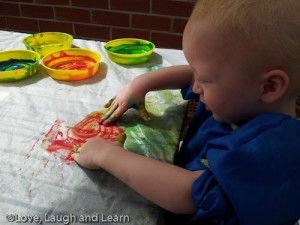
Annabelle started out spreading the paint straight onto the paper, but once a little went onto the table, she realised how much fun it was to spread the paint straight onto the table and swirl her fingertips around in it (which is exactly what happened in the original post!) I showed her how to make a print after painting straight onto the table and we looked at how different the patterns look. The outside table is made of thin slats, which created an interesting striped effect.
When finished we had a good look at all the lovely swirly patterns she had made, and tried to choose which one to display in the kitchen. We had lots of large papers, some with fairly small areas of paint so there were too many to display them all, but then I had a brain wave!
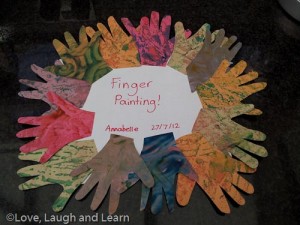
I cut out the ‘interesting’ parts of each picture (chosen by Annabelle). I decided to cut out hand shapes to remind her that she used her fingers! I drew around Annabelle’s hand once to make a template and then she helped me put the template on the ‘best’ areas of each picture. She was a little unsure when I first started cutting up her picture, but she soon forgave me when she saw all the little hands!
I arranged them around a piece of white paper, and wrote her name and date in the middle. Now there is space in the kitchen for Annabelle’s entire collection of finger painting pictures!
This was a really fun sensory activity with a nice keepsake at the end.






That looks so cool, well done annabelle and mum
Thank you 🙂